
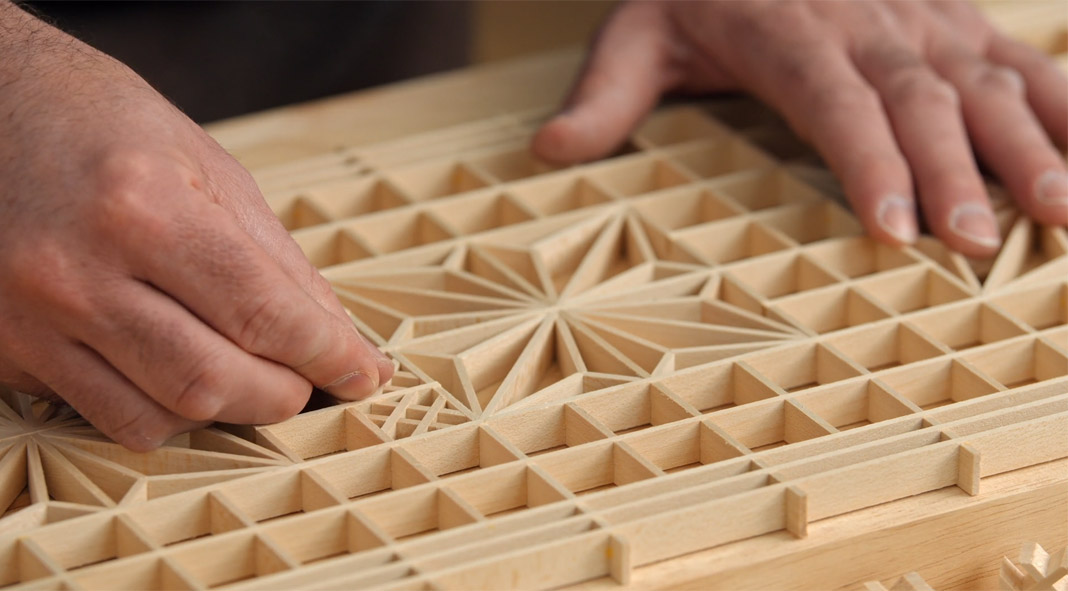
This article will show you how to join corner corners of picture frames. This guide will explain how to use a Rockler Precision Gauge, including miter, bridle, and half-lap joints. This will help you make the most stunning frames. You can then check out the following tips and tricks. You'll be a picture frame master in no time!
Miter joints
The miter joint is a joinery made by joining two pieces of wood with their ends cut at a 45-degree angle. The 90-degree corner is formed by the perfect fit between the two pieces of wood when they are joined together. Miter joints can be made at different angles to accommodate irregularly shaped picture frames. For example, an eight-sided picture frame will have eight 45-degree angles. A five-sided frame, on the other hand, will have five 72 degree angles and two 36 degrees.
Half-lap joints
There are four main types of joint for joining picture frames. These are miter joints and pocket screws. When joined, half-lap joints can be strong and provide a seamless finish. While miter joints are the most common, you may be able to use your own tools. It doesn't matter which type of joint is used, you can still experiment with them to discover the one that works best for you.
Bridle joints
You have several options when making a picture frame: bridle joints or pocket screws, or mitered joint. These joinery methods are both attractive as well as durable. They do require some trial and error to ensure that the joints fit correctly. Here are some alternatives:
Rockler Precision Miter Gauge
A Rockler Precision Miter Gage is essential if your goal is to cut picture frames. These handy tools allow you to cut miters with perfect angles, and they make miter cuts much easier than ever. This tool will help you achieve perfect corners every single time. Listed below are some of the benefits of this tool.
Rockler T-Track Frame Clamp
A T-Track Frame Clamp by Rockler is a great tool for joining corners of a picture frame when you are ready to assemble it. To clamp all four corners at once, this clamp utilizes four corner brackets and strong nylon bands. It's easier to verify the squareness of frames because it has raised reference points. It's especially useful when joining small picture frames, such as those of children's toys.
FAQ
How do I determine what kind of wood my project is made from?
Always inspect the label when buying wood. The label should provide information about the wood species, moisture content, and whether preservatives have been used.
Is there a way to start my own woodworking company?
It can be difficult to start your woodworking business. There are lots of legal requirements and regulations that you'll need to follow. However, it doesn't necessarily mean you must go through all the hassle of setting up a business. Many people opt to join existing businesses instead. This allows you to join existing businesses and pay only membership fees.
What is the minimum amount I will need to start?
There are no exact numbers because every project is different. Here are some factors to help you estimate how much money you will need.
-
Cost of materials
-
Tools and equipment
-
Time spent working on this project
-
The hourly rate
-
What amount of profit can you expect to make?
-
You can hire help, regardless of whether you have a plan.
Start small, if possible. You can make simple boxes or picture frames if you're just getting started. As you gain experience, more difficult projects will become possible.
Statistics
- Overall employment of woodworkers is projected to grow 8 percent from 2020 to 2030, about as fast as the average for all occupations. (bls.gov)
- The best-paid 10 percent make $76,000, while the lowest-paid 10 percent make $34,000. (zippia.com)
- In 2014, there were just over 237,000 jobs for all woodworkers, with other wood product manufacturing employing 23 percent; wood kitchen cabinets and countertop manufacturing employing 21 percent. (theartcareerproject.com)
- The U.S. Bureau of Labor Statistics (BLS) estimates that the number of jobs for woodworkers will decline by 4% between 2019 and 2029. (indeed.com)
External Links
How To
How to join wooden boards without using nails
Woodworking is an enjoyable hobby. It is relaxing and enjoyable because you can create something useful with wood. Sometimes you may want to join two pieces together of wood without using nails. This article will show you how to do it to make your woodwork projects look great.
Before you can join the wood pieces together, you need to remove any rough edges. Sharp corners can cause problems down the line. Once you've done this, you're ready to start gluing your boards together.
When working with hardwood, glue should be applied only to one side. If you're using softwoods like pine or cedar, you should put glue on both sides. Apply the glue to the boards and press them down until they are securely attached. Before moving onto the next step, make sure the glue has dried completely.
After you've glued your boards, you'll want to drill holes into the joints where you plan to insert screws. Depending on the type of screw that you use, the size of these holes will vary. For example, if your screw is a 1/2-inch wooden screw, drill a hole that is at minimum 3/4 inches deep.
Once you have drilled your holes you will need to drive the screws through each joint and into the backside. You should be careful not to touch the board's front surface. This could cause damage. Be careful not to drive the screws too hard at the ends. This will help prevent splitting of the end grain.
Once your project is complete, it's time to protect it against the elements. You have two options: seal the whole furniture piece or just the top. You want it to last years, so you can use any product. You can choose from oil-based varnishes or polyurethane, shellac and lacquer as examples.
These products can be found in most home improvement shops. You should make sure you are getting the right type for the job. Also, remember that some finishes are toxic and should never be used indoors. Always wear protective gear when handling any of these finishes.